


Felting is an intricate and creative technique that has been used for a long time. It is a fantastic medium for both realistic and abstract artwork because it enables artists to mould and shape fibres into any desired form.
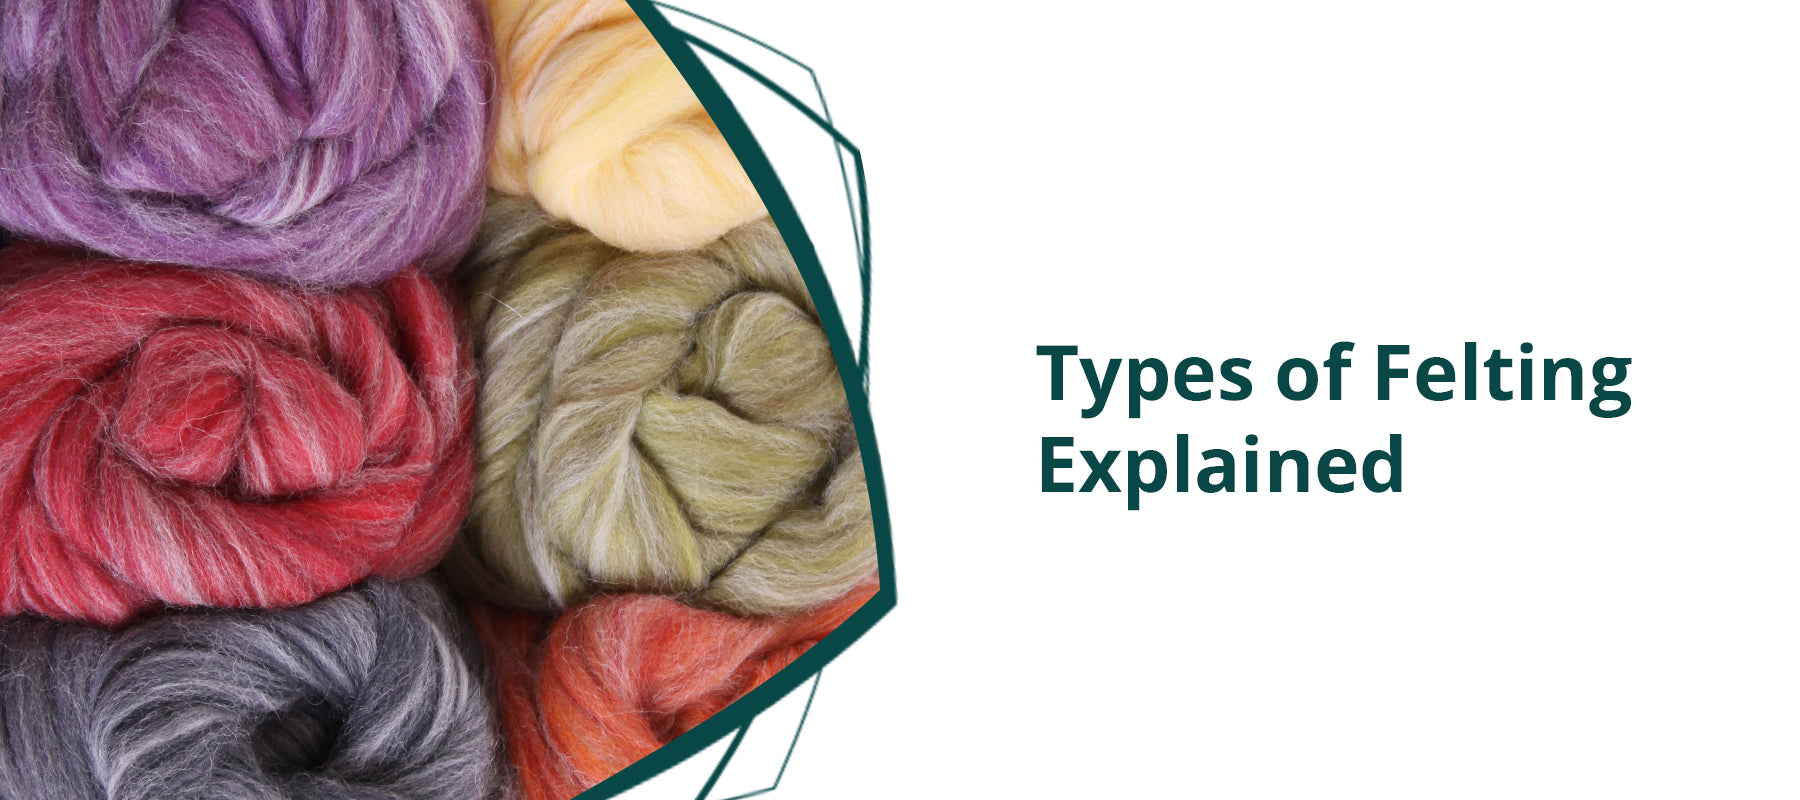
A simple and enjoyable activity for people of all ages, felting may be done with either natural fibres, especially several types of wool, or even synthetic fibres. If you have read our previous blog post titled Types of Felting Explained, you should already have a brief background on wet felting, Nuno felting, and needle felting. In this article, we offer a more in-depth discussion of each process.
Felting offers countless opportunities for artistic expression. The methods of wet felting, Nuno felting, and needle felting all attempt to produce felted creations, but they vary in their methods, materials, textures, and designs. If you are interested in felting, it is quite important to comprehend the differences between these methods.
Wet Felting
Traditional felting methods, such as wet felting, include stirring the felting fibres to cause them to interlock and bond together. Wet felting has been practised for centuries and is known for its versatility and ability to create strong and durable finished pieces. Tools like a felting pad, bubble wrap, or washboard are used throughout this process.
Depending on the type of fibres used and the agitation used during the process, the wet felting technique produces a solid fabric with varying thickness and texture. Wet felting offers a wide variety of felting design options and can create both smooth and textured surfaces.

What Can You Make With Wet Felting?
This felting technique is often used to create various apparel items, accessories, and home decor. Wet felting works well for making the following items:
- Clothing like vests, jackets, and skirts.
- Accessories like hats, gloves, handbags, purses, and pouches.
- Home items like throw pillows, table runners, coasters, and placemats.
- Unique covers for books, journals, photo albums, and even gadgets.
The Wet Felting Process
Here's a step-by-step guide to the wet felting process:
- Gather your materials. You will need a few basic materials, such as loose wool fibres (roving wool or batting wool), a towel, a plastic sheet or bubble wrap, hot water, mild liquid soap, and optional tools like a felting mat or washboard. You would also need a basin or bowl if you opt not to use your sink.
- Prepare your workspace. Lay down a towel to protect your work surface, then place a plastic sheet or bubble wrap on top. This will provide a smooth surface for the felting process and help with moisture retention.
- Layer the fibres. Start by laying out a thin layer of wool fibres in one direction on the plastic sheet or bubble wrap. Ensure that the fibres are evenly distributed and cover the desired area. You can add multiple layers of fibres, alternating their direction, to create a more solid fabric.
- Wet the fibres.Fill a basin, bowl, or sink with hot water. Mix a small amount of the mild liquid soap gently to create a soapy solution. Wet your hands with soapy water and gently sprinkle it over the wool fibres. Make sure the fibres are evenly moistened but not overly saturated.
- Agitate the fibres.Start agitating the fibres by pressing down on them with your hands. Apply light pressure and move your hands in a circular motion, focusing on all areas of the fibre layout. This helps to distribute the moisture and soap, encouraging the fibres to tangle and bind together.
- Roll and rub.Unroll the bundle after several minutes of rolling, and then carefully peel off the plastic sheet or bubble wrap. Pinching the fibres will help you gently assess the process. If they stay together and are difficult to separate, the felting process has worked.
- Rinse the soap off. To remove soap residue, rinse the felted piece in warm water, gradually switching to cold water. Gently squeeze out the extra water, avoiding twisting or wringing the fabric.
- Shape and dry.The newly felted piece can then be shaped to take on the desired form by being gently stretched or manipulated. The drying process involves laying it flat to dry on a drying rack, clean towel, or fabric. To prevent the fabric's shrinking or deformation, ensure adequate air circulation in the room and keep it away from direct sunlight or extreme heat.
Once dried, the wet felted fibre will transform into a dense fabric. It can then be decorated, cut, sewed, or used for various purposes, including apparel, accessories, decorative items for the home, and many more. Wet felting enables creative experimentation and the fabrication of one-of-a-kind, textured materials.
Benefits of Wet Felting
Wet felting may be a labour-intensive process, but it is a highly rewarding craft technique. Here are some of the key benefits of wet felting:
- Wet felting produces strong and durable fabrics.During the felting process, the fibres interlock, resulting in a cohesive and durable textile material that can withstand wear and tear. Finished wet-felted fabrics have a long lifespan and keep their shape over time.
- Wet felting creates unique textures and patterns. Felters can experiment with different fibres, colours, and techniques to achieve a variety of visual effects. The resulting fabric can be soft and tactile, making it pleasing to the touch and visually appealing.
- Wet felting offers educational and cultural value. Wet felting is a centuries-old craft process that has been passed down through generations. Wet felting can aid in the preservation of cultural heritage and traditional craftsmanship. It also allows for education and research into historical techniques and cultural importance.
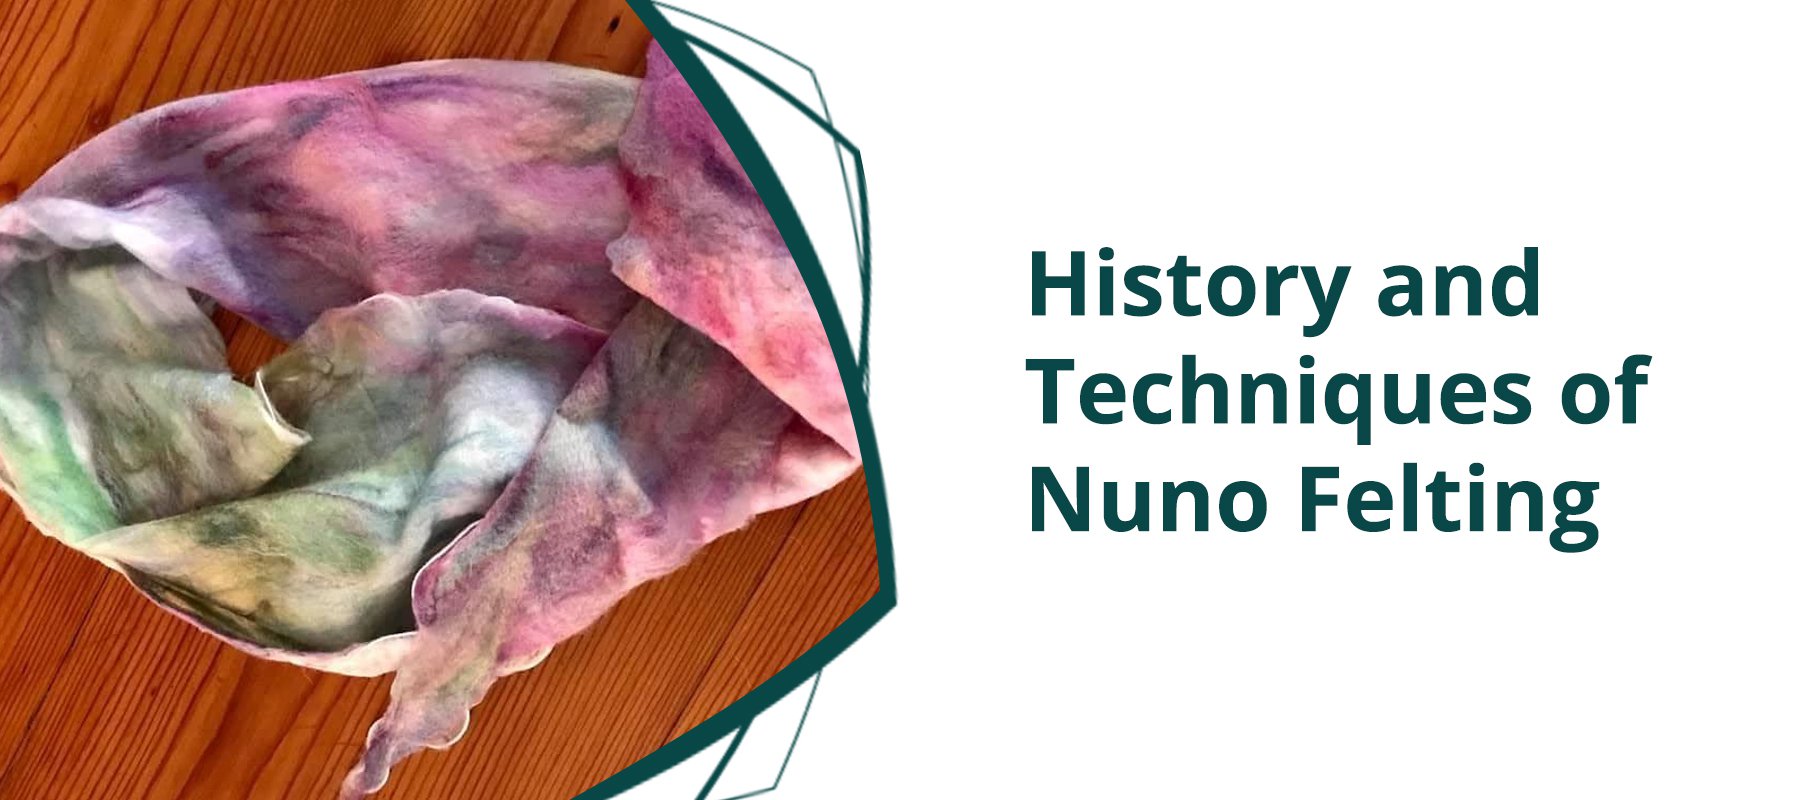
Nuno Felting
Nuno felting is a unique type of felting. The word "Nuno" is derived from a Japanese word that means "fabric" or "cloth," which illustrates the technique's strong ties to Japanese culture. Nuno felting is frequently linked to the idea of "less is more," as it only uses a small number of wool fibres to produce a fabric that looks to be mostly made of integrated fabric.
The process of Nuno felting involves laying out the fibres onto the fabric and then agitating them together using moisture and friction. The end product is a gorgeously textured fabric that combines the benefits of both the fabric and the warmth and tenderness of the wool fibres.

What Can You Make With Nuno Felting?
Making wearable works of art while experimenting with wool to produce a variety of textures and thicknesses for a dependably distinctive end result is possible with Nuno felting. Some of the items you can make with Nuno felting are the following:
- Textured scarves, shawls, ponchos, and wraps.
- Vests, tops, dresses, and skirts.
- Home items like cushion covers, table runners, and wall hangings.
Keep in mind that Nuno felting can produce delicate textures that may be more vulnerable to damage than standard felted fabrics, so handle the completed cloth with care.
The Nuno Felting Process
Here's a step-by-step guide to the Nuno felting process:
- Gather your materials. You will need loose wool fibres, a lightweight fabric (silk or muslin), a towel, bubble wrap or a bamboo mat, warm water, mild liquid soap, and a spray bottle.
- Prepare your workspace. Lay down a towel onto your work surface for protection and place a sheet of bubble wrap or a bamboo mat on top of it. The bubble wrap will provide texture and also helps with the felting process.
- Lay out the fabric. Lay the lightweight piece of fabric flat on top of the bubble wrap or bamboo mat. Smooth out any wrinkles or folds, ensuring that the fabric is taut.
- Prepare the fibres.Take the loose fibres and gently tease them, creating a thin layer. You can incorporate different colours or types of fibres to achieve the desired effect.
- Layer the wool fibres. Evenly distribute the fibres over the fabric. You can arrange them in a specific pattern or design, or randomly. Remember that the fibres will spread and migrate during the felting process, so make sure to cover the entire fabric surface.
- Wet the fibres. Fill the spray bottle with warm water and a small amount of mild liquid soap. Spray the wool fibres and fabric evenly with the soapy water. You would want the fibres to be thoroughly damp, but not overly saturated.
- Agitate and rub.Gently press down on the wet fibres and fabric, ensuring that the water is able to penetrate through the layers. Begin rubbing the surface with your hands in a circular motion, applying moderate pressure to encourage the fibres to bind with the fabric. Do this for about 5 to 10 minutes.
- Roll the fabric. From one end, carefully roll the fabric and fibres together, ensuring they stay tightly wrapped. Roll the bundle back and forth on the bubble wrap or bamboo mat, applying pressure as you go. This rolling action helps further agitate the fibres and promote felting.
- Unroll the fabric and check your progress. After rolling the fabric for several minutes, unroll it and check the progress by gently pulling at the fibres. If they hold together and don't separate easily, this means that the felting process is working.
- Rinse and dry your Nuno-felted fabric. Rinse the fabric thoroughly under warm water in order to remove any soap residue. Gently squeeze out excess water, making sure not to wring or twist the fabric. Lay the felted fabric flat to dry on a clean towel or piece of fabric or on a drying rack.
Benefits of Nuno Felting
Nuno felting offers many benefits to artists, designers, and hobbyists. Its versatility, lightweight nature, durability, insulating properties, and potential for creating captivating textural effects make it a preferred technique for creating one-of-a-kind fabrics and fashion accessories.
Here are the benefits of Nuno felting in more detail:
- Nuno felting offers versatility. This felting technique incorporates different fabrics, colours, and textures, giving artists and crafters endless possibilities for creating unique designs.
- Nuno felted fabrics are lightweight with beautiful drape. The combination of wool fibres and lightweight fabric results in a lightweight fabric with an excellent drape. Nuno-felted garments and accessories are comfortable to wear and have a flowing, soft texture.
- Nuno felted fabrics have insulating properties. Wool fibres naturally have excellent insulating properties; by combining them with fabric, Nuno felting enhances these properties. The resulting fabric provides warmth and insulation, making it suitable for winter wear and accessories.
- The Nuno felting process is eco-friendly. Nuno felting is a sustainable craft that utilizes natural materials like wool and silk. It promotes recycling and upcycling by incorporating reclaimed or repurposed fabrics, yarns, and fibres into the felting process.
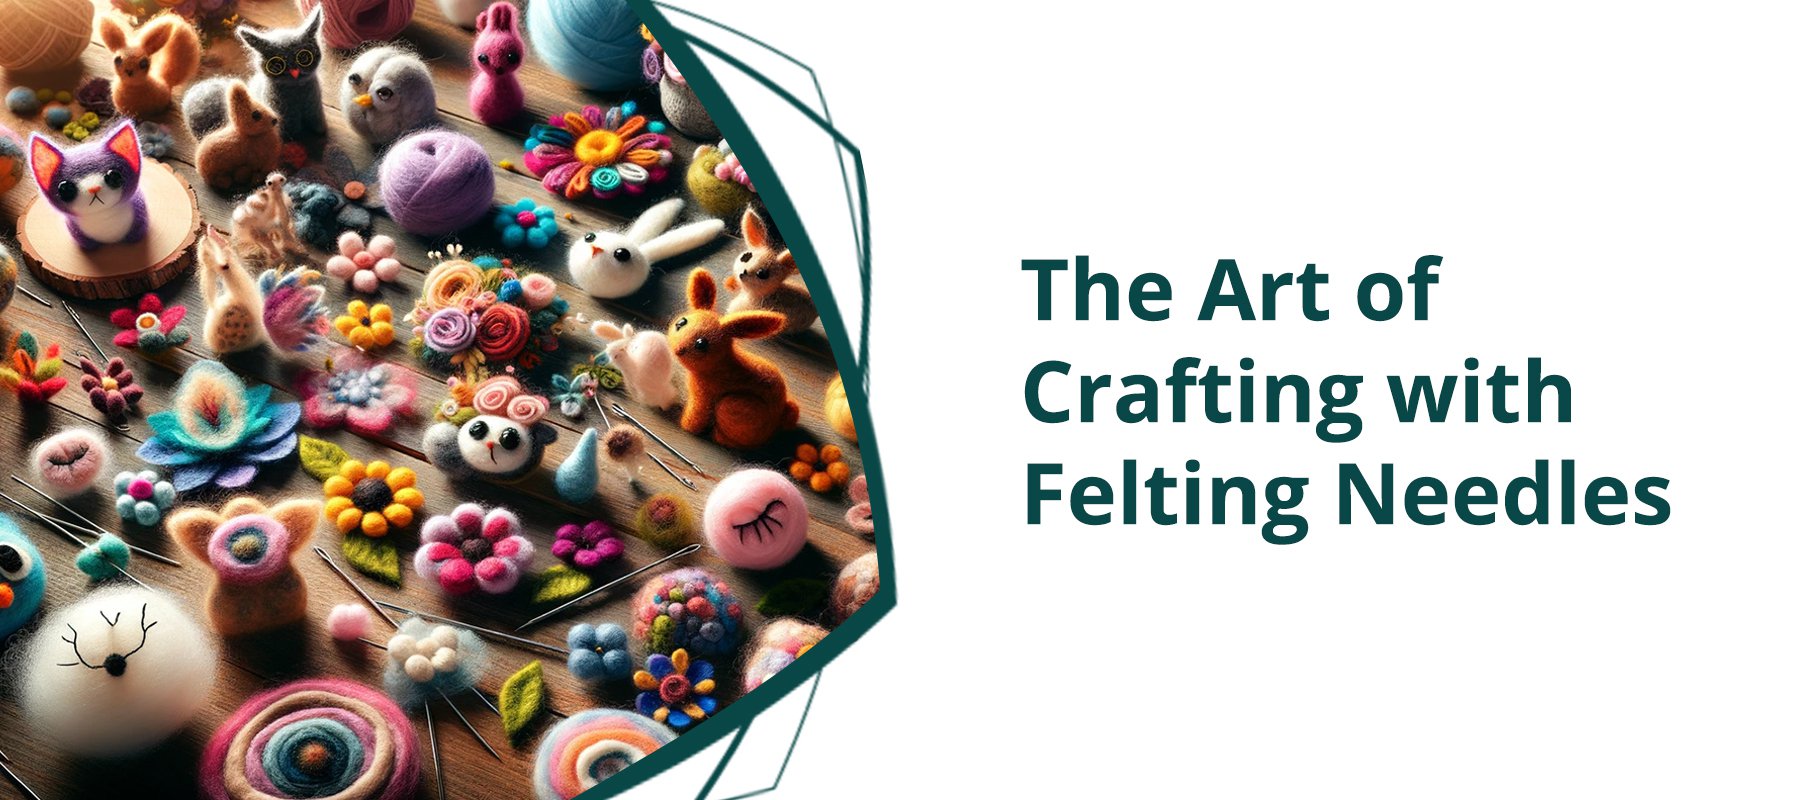
Needle Felting
Needle felting, a form of dry felting technique, is a versatile and creative craft that involves manipulating and sculpting wool fibres using special barbed felting needles. This technique allows artists and crafters to create three-dimensional objects, flat pieces, and intricate details with incredible precision. Artists can use specialized needles with different barb configurations to achieve different effects.
Needle felting can be enjoyed as a standalone craft or combined with other techniques such as wet felting or embroidery to create more complex and layered felted art.

What Can You Make with Needle Felting?
Needle felting has gained popularity among artisans and hobbyists due to its accessibility, minimalistic tools, and endless possibilities for artistic expression. It offers a wide range of possibilities. Artists can create small sculptures, figurines, animals, jewellery, accessories, and even larger decorative pieces.
Some of the specific items you can make with needle felting include the following:
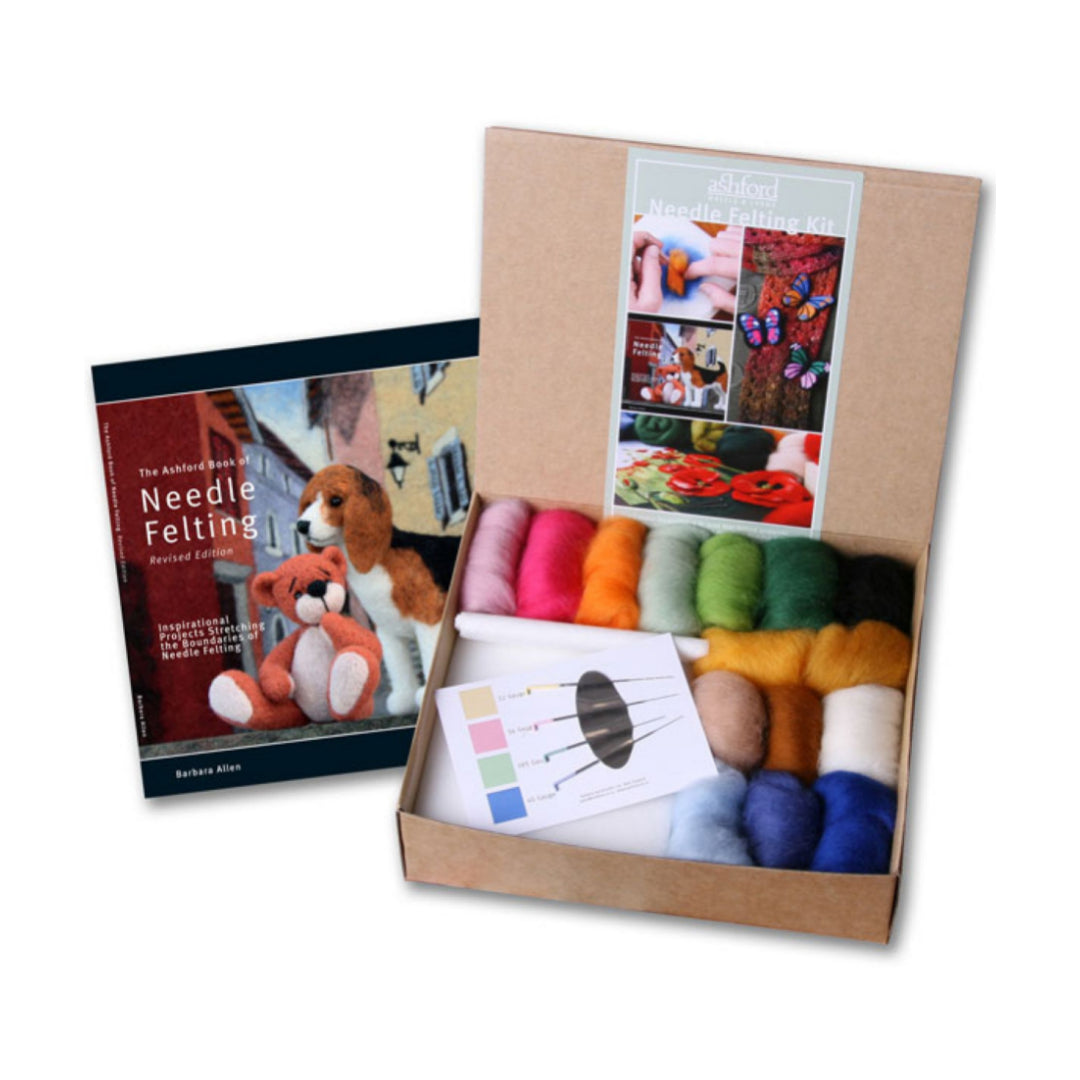
- Three-dimensional animal figurines like the ones you can make with the Ashford Needle Felting Kits.
- Holiday ornaments and decorations.
- Small types of accessories like brooches and pins.
- Home items like coasters and mats.
The Needle Felting Process
Here's a step-by-step guide to the needle felting process:
- Gather your materials.The basic materials you will need for needle felting are loose wool fibres (roving or batting), a foam pad or felting mat, barbed felting needles, and a single-needle felting tool.
- Prepare your workspace. Place the felting foam or felting mat on a flat surface. This will provide a soft, protective work surface for the needle felting process.
- Start with basic shapes.If you're creating a three-dimensional object through felting, start by forming basic shapes from the wool fibres. For example, if you're making an animal, you can start with a ball for the body and smaller shapes for the head, limbs, and other features.
- Work on the layers.Place a small amount of wool fibre on the foam pad. Hold the fibre in place with your fingers and begin poking it repeatedly with the felting needle. The barbs on the felting needle will catch the fibres and push them together, causing them to interlock. Continue poking the felting needle into the fibre until it starts to hold its shape.
- Add more fibre. Gradually add more wool fibre to your initial shape, felting it into the existing layers. Use a poking motion with the needle to secure the new fibres and blend them with the previous layers. Continue adding fibre and felting until you achieve your desired size and shape.
- Sculpt and shape.As you continue to add fibre, use the felting needle and your fingers to sculpt and shape the object. You can create details such as facial features, fur texture, or any other desired characteristics at this stage. Take your time and work slowly, adding fibre and felting it as needed to achieve the desired look.
- Add fine details and finishing touches.You can switch to a single-needle felting tool to create fine details and refine smaller areas of your work. This allows for more precision and control. Use the single needle to add intricate details, refine the shape, and blend the fibres.
- Test and adjust.Periodically test the firmness and shape of the object by gently squeezing or prodding it. If it feels loose or weak in certain areas, add more fibre and continue felting until it becomes secure. If needed, you can also trim excess fibre or adjust the shape as you go.
Once you're satisfied with the shape and structure, gently brush or trim the surface to smooth out any loose fibres or uneven areas. Handle the finished piece with care to avoid breaking or damaging delicate parts.
Benefits of Needle Felting
Needle felting is a versatile and enjoyable craft technique that offers several benefits to those who practice it. Here are some of the benefits of needle felting:
- Needle felting promotes creativity and self-expression. Needle felting allows people to express themselves by creating one-of-a-kind and personalized felted products. It gives a platform for artistic expression, allowing you to realize your imaginative thoughts.
- Needle felting offers relaxation and stress relief. Needle felting is also a pleasant and relaxing activity and a creative outlet. The repetitive motion of the barbed needle stabbing into the wool can be soothing and meditative. Many people use needle felting to ease tension and improve concentration.
- Needle felting creates a wide range of items. Needle felting can be applied to a wide range of projects and materials. Small 3D sculptures, figurines, animals, cute accessories, and home decor items can be made through this exciting felting technique. The possibilities are nearly limitless!
- Needle felting promotes a sense of accomplishment. Completing a needle felting project can provide a strong sense of achievement. As the fluffy wool transforms into a solid and well-defined shape, you'll feel a great sense of accomplishment and pride in your work. It can boost your self-confidence and inspire you to take on more challenging projects as well.
Get Started with Nuno Felting, Wet Felting, or Needle Felting
Felting is a fascinating form of fibre craft that inspires artists and enthusiasts worldwide. Wet felting, needle felting, and Nuno felting are common types of felting processes that can be used to explore a wide range of creative possibilities. Felting provides limitless potential for self-expression and invention, from wearable art and home decor to sculptures, accessories, and toys.
So, gather some wool, unleash your imagination, and embark on a felting journey that will ignite your creativity and bring forth beautiful, handcrafted treasures.
Feel free to browse our curated collection of felting fibre, felting needles, felting kits, and felting supplies to get started on your next felting project!


Leave a comment (all fields required)